How to install an outdoor electrical outlet
Read all our helpful tips on installing an outdoor outlet, and you can do it yourself

Install outdoor outlet: key tips to remember
- Outdoor outlets can save you the hassle of extension cords
- Outdoor outlets can enhance your enjoyment of the great outdoors at home
- If you have patience and take your time, you can install an outdoor outlet
- Always turn off your power at the breaker when working with electricity
- Use GFCI outlets, but consider the addition of USB ports
As we roll into the heart (and the heat) of summertime, you might be thinking of how nice it would be to have a working outdoor electrical box in your backyard or elsewhere. An extra plug-in for power tools when you’re working outside at home is handy, but an outdoor outlet can also make lounging and entertaining more pleasant. You may want to use an oscillating fan, plug in a stereo system, a projector, a minifridge, or a refreshing water mister for those hot afternoons on the patio. Are you wondering how to install outdoor outlets and whether you can do it yourself by tapping the power directly from an indoor outlet and running it through the wall to a new outdoor electrical outlet? You can do this, and we’ve got all the info you need to DIY.
Location determination
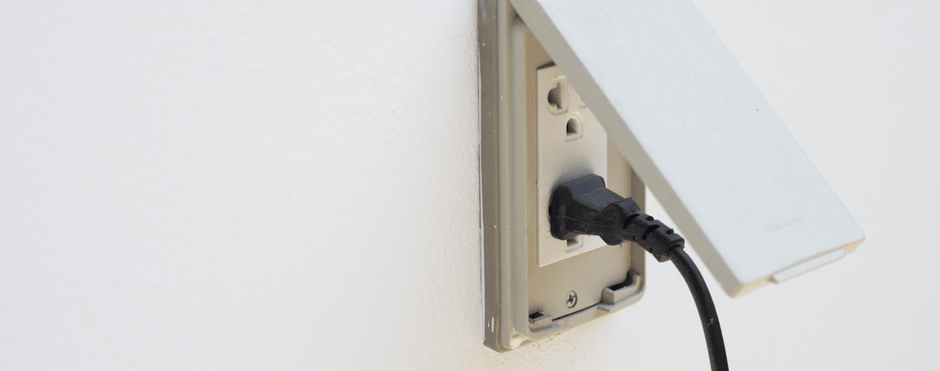
If you’re ready to stop wrangling that extra-long extension cord once and for all, you’re ready to add outdoor outlet access to your home. Just imagine how much easier it will be to plug in that strand of mood lighting or holiday bulbs whenever you’re ready. Make sure you pick a good spot that makes sense for many outdoor plug-in needs. Remember, you’ll need to use GFCI (ground fault circuit interrupter) outlets with waterproof covers for each outdoor outlet box. While you’re at it, our post on how to reset a GFCI outlet might also be helpful. Some GFCI outlets even include USB (universal serial bus) plugs, which can be extra handy. Here’s how to install USB wall plugs. You might like being able to charge your phones outside, too.
Stuff you might need
- Drill bits
- Screwdrivers
- Cordless drill
- Reciprocating saw
- Hammer
- Stud finder
- Wire cutters
- Wire strippers
- Electrical wiring
- Electrical tape
- Wire nuts
- Wire coat hanger
- Cable clamps
- Voltage tester
- GFCI outlet
- Outlet cover
- Silicone caulk
Cut the power
First, select which wall you’re going through to the outside. But before you begin working, cut the power to this entire circuit for safety. After you flip the switch at the breaker, test the interior outlet with your voltage tester to ensure it’s no longer getting power. Make sure to tell anyone else in the house not to mess with your circuit breaker because you don’t want any surprise power surges while you’re manipulating power sources.
Disconnect the interior outlet
After confirming that the interior outlet is not receiving power, you’re free to unscrew its housing from the wall and begin disconnecting the wires, pushing them aside. Make sure you have enough room in the box for the second set of wires. You’ll likely need at least two 14/2 or 12/2 wires, but you don’t want them crowded, so replace the box with a larger one if necessary.
Drill (inside to outside)
Use a stud finder to locate the studs around the electrical box. Punch out the knockout tab in the back of the box, and drill through the hole between the studs using an 18-inch bit, drilling through the interior and exterior walls, angling slightly downward. If you want your exterior box recessed into the exterior wall, hold it over the exterior hole you’ve just made and trace around it, then cut out the siding along your trace lines with the saw. If you don’t want a recessed exterior outlet, simply widen the exterior hole to 1 inch from the outside and position the new exterior box so the hole aligns with the knockout tab on its back.
Run wire (inside to outside)
After confirming you have the right wire gauge and amperage to match your circuit, pull or push the wiring through the hole, from the inside outlet through the exterior hole you’ve just widened. If you have trouble or get hung up along the way, use the wire coat hanger to help guide your new wiring through the hole. Go outside and pull out at least a foot’s worth.
Prep interior and exterior boxes
Punch through the knockout tab in the back of your exterior outlet box, and feed the new electrical wires from the inside outlet through the hole you drilled in the outside wall and into the new exterior box. Back inside at the interior box, pull several inches of slack out and strip an inch-long section of each wire. Connect the two grounds using a ground wire connector and connect the bare ground to the outlet. Rewire the black and white wires, and reattach the inside box to the interior wall.
Connect the exterior outlet
Strip inch-long portions from the new wires at the outside end and connect exposed wires to the exterior outlet box, making sure to connect ground to green, white to silver, and black to brass. Using wire nuts, connect the other ends of these “pigtails” to their common wires (black to black, white to white, and ground to ground). Push all these connections into the new box and attach it to the wall — whether you sink it into the hole you cut from the outside wall or merely attach it to the outside wall — using screws and your power drill. Once the box is screwed into place securely, install the waterproof cover, ensuring that the hinge is on top.
Connect the interior outlet
Take the wires you already stripped — which, at this point, are waiting to be reattached — and reconnect them to the same spots they were in originally. Connect the two ground wires to each other using a grounding wire nut, and connect the remaining bare ground wire to the outlet itself. Connect the remaining wires (black to gold and white to silver). You’ll only need a pigtail connection if you’ve added a third (rather than just a second) connection to this interior outlet.
Test both outlets
Now you’re ready to reconnect the power, so head back to your breaker box and flip the switch for the circuit for your outlets back into the “on” position. Check both outlets with your voltage tester to make sure they’re working as they should. If they’re not, turn off the power again and reexamine all your wiring connections within both boxes to make sure each wire is in the right place. Then go back to the breaker, turn the power back on and try again. If you're still having problems after restoring the power and testing your outlets again, it’s time to call a professional.
Wrapping up
We hope that installing your outdoor outlet wasn’t too difficult and that this post made it easier. While you’re here, if you’re still in a home improvement, DIY sort of mood, you may want to check out our post on backyard pond maintenance. But that’s not all — not by a long shot. We have a vast library of helpful posts on all sorts of home maintenance and improvement projects, and we invite you to pull up a chair and stick around for a while. Enjoy our library of free posts, and thanks for stopping by!
The information in this article is intended to provide guidance on the proper maintenance and care of systems and appliances in the home. Not all of the topics mentioned are covered by our home warranty or maintenance plans. Please review your home warranty contract carefully to understand your coverage.
